 |
 |
||
| THE RAKU PROCEDURE |
||
| Getting started |
||
| Applying the glaze |
||
| Setting up the kiln |
||
| About the burner |
||
| Loading the kiln |
||
| The actual firing |
||
| Unloading the kiln |
||
| Temperature shock |
||
| Reduction |
||
THE FIRING PROCESS |
||||||||
If you fire the kiln for the first time than give it some time that warm up slowly. We have pre-heated the kiln shelf up to 950 °C for you but due to storage it can pick up some moisture from the air again. |
||||||||
A |
||||||||
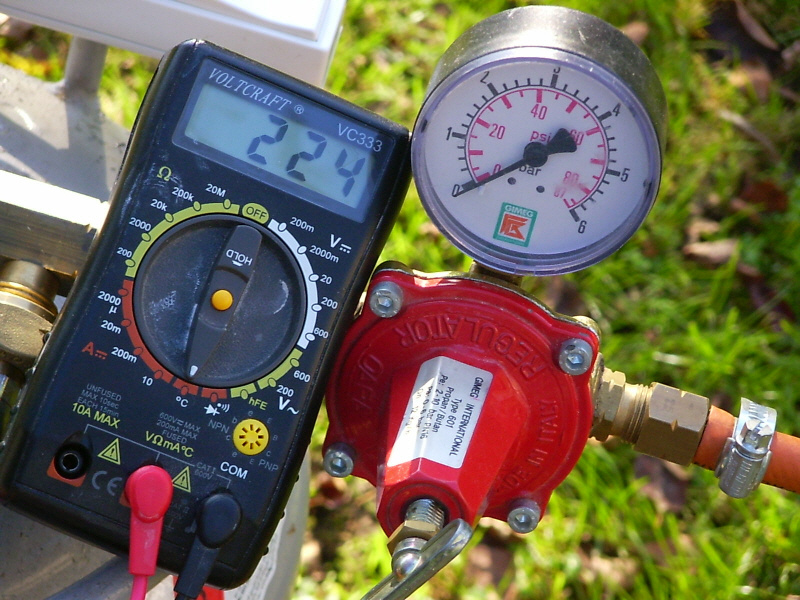
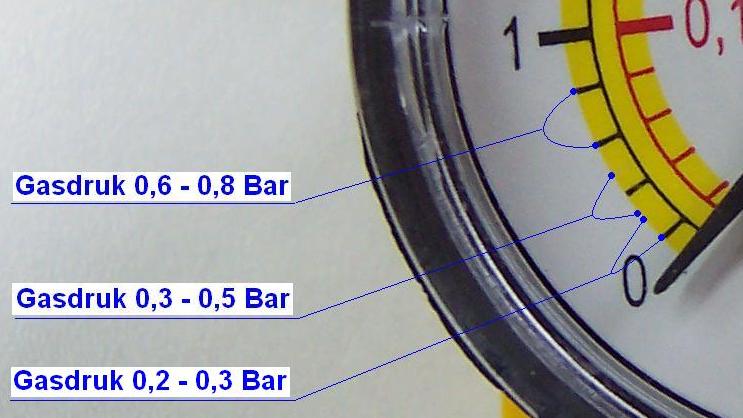
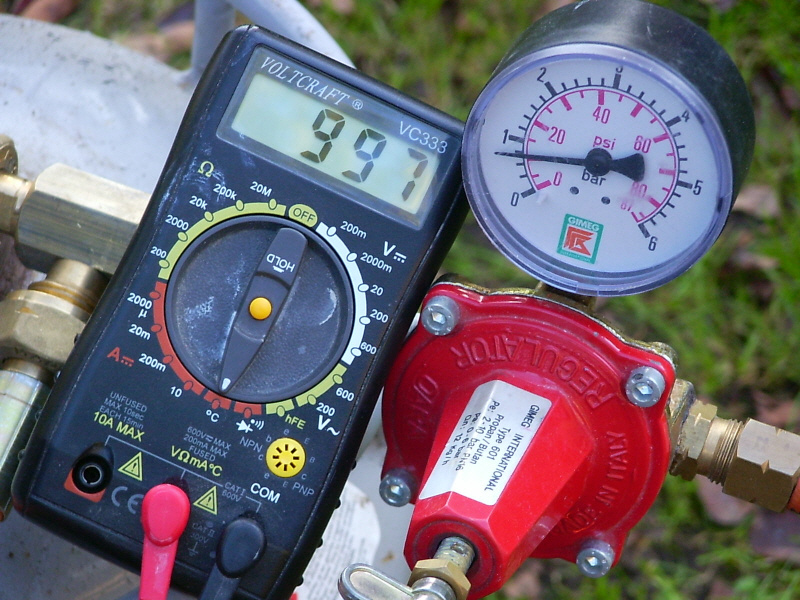
Ignite the burner following the procedure as above and but it at its position in front of the burner port. We leave the gas pressure as low as it is for at least half an hour. Doing so we give both the kiln and the ware time to warm up slowly. After half an hour you put the kiln cover on the kiln while leaving the gas pressure unchanged. This enables the temperature to rise further. Give it another half an hour to adapt to this higher temperature. |
||||||||
Remark |
||||||||
The preheating as we describe it here is necessary when you fire the kiln for the first firing session. You can customise it when you fire the kiln multiple times a day. Make sure though that you ware is dry enough before allowing the temperature to exceed approx. 150 °C. |
|
|||||||
B |
||||||||
After this preheating and when the ware totally dry we can increase the gas pressure to a value that correspond with half capacity as specified on the kiln technical detail pages on this site. The temperature will rise quickly now and will be soon above 600 °C. Maintain this pressure for approx. 30 minutes. |
|
|||||||
C |
||||||||
If you work with a pyrometer it is easy to see that after 30 minutes the temperature increase gets slower. Time to increase the gas pressure to its peak value, which can vary for every typo of kiln. Please check at the technical details for the appropriate value. Maintain this pressure until you have reached the desired temperature and the glaze is matured. |
|
|||||||
|
Printable Version |
||||||||